Wednesday, February 6, 2013

3D Illustration: Research Methods


 CG Hub artists. 
Me as a 3D artist 
I've been working in 3D programs since community college. I've created models and worked with 3D programs. However, I've taken a break from pursuing 3D anything because of focusing on school and computer crashes where I've lost the data. 
I have Zbrush and Maya to work with. However, only focusing on modeling and texturing because of computer inefficiencies. Low poly and poor graphics card has reduced my animations into pixelated messes and computer crashes and freeze. However, I won't give up in succeeding this art form as it pertains to future  job opportunities. 
More computer advances are needed, fortunately, desktop and laptop computers are more efficient with higher processing power and more RAM available with less money to spend, than computers used to cost. 
Why do I want to pursue 3D as a means to create art? It's because there's an ever growing need and demand to create 3D imagery and animation. I want to be skilled in modeling and texture because more and more art is going to those programs and that way of creating. There are also a lot more job opportunities and job creations in this field as well as jobs over seas. 
Learning Zbrush and Maya are quite challenging, however, I find myself a fast learner with these programs as well as other art programs; computer based. With tutorials and a great deal of patience; I can create simplistic models...it's a start. 
There are many ways to create art, however, a more extensive and ever growing way to create imagery is that of 3D modeling to animation.


ZBrush Modeling pixology.com Picture: CGHub Artist
As great as it would be to just talk about artistic things, there are practical concerns that need to be addressed as we begin modeling in ZBrush. Traditionally we had to build and proportion an armature and prepare our clay. Digitally we consider related things: we prepare our digital clay (base mesh, edge loops, quads, etc) and pose with a ZSphere armature.
If you must have triangles, hide them away in an armpit or on the bottom of a foot. ZSpheres are great for quadrangulated meshes (though hands and feet are difficult to make using them). Your model doesn’t need to be anything spectacular to start with. The most important thing is that you have the quads and edges where you need them; the shape and proportion can and will change. You can see from the humble [base mesh] that all the magic happens in ZBrush. It is so good at moving points and changing proportions (TransPose) that we only need to start in the ballpark and then progressively refine as we go. Have a good laugh at how mediocre this base mesh is, but remember it is just the starting point.A very low-resolution base mesh is great for making large changes to your sculpture by pushing, pulling, or moving single vertices at a time. Often for production work I use a very low-res mesh to start my sculpt, but export SubD Level 1 or 2 for rigging and animation. While not critical for digital sculpture, it is good to get in the habit of putting decent edge loops on your model, they do help. A well edge-looped model will require fewer polygons to represent form and you will never feel like you are fighting against misaligned edges. The edge loops should broadly flow along muscle groups and in the direction of deformation. I also use specific edge loops to represent critical skeletal landmarks. I would, for example have an edge loop that distinctly represents the clavicles and others around the hips that represent the iliac crests. Do not make long rectangles. When subdividing the mesh into digital clay, rectangles with long polygons turn into long micropolygons which are awkward to sculpt on and destroy the feel of your brushes.As much as possible avoid over detailing regions of your base mesh. Avoiding areas of small details can save hundreds of thousands of polygons when the mesh is subdivided, often allowing you to get another subdivision level out of your available memory. Remember: subdividing a single polygon eight times results in 65,538 polygons. (And who wants this many polygons underneath every fingernail?) Of course, if you are modeling for production there are different requirements but efficiency is still important. Also, if you know you are going to have an area with a disproportionate amount of detail, you will want the base mesh in this area to be proportionally denser. (Or you can use ZBrush’s HD geometry.)Use the paint tools in Photoshop to paint directly on the model. These paints will automatically be applied to the texture in the “layers” panel. As an alternative you can double-click on the texture layer. This will bring up a separate window where you can paint on the texture.Select “File” and click “Save.” Name you file and the location you want to save to. Your model with its new texture will be saved and can be imported back into ZBrush.
http://www.pixologic.com/zclassroom/artistinaction/scotteaton/modeling/

Also check out tutorial videos:
http://zbrush.wonderhowto.com/how-to/use-basic-sculpting-methods-zbrush-3-1-196468/
http://zbrush.wonderhowto.com/how-to/use-polygroups-zbrush-3-1-196748/
http://zbrush.wonderhowto.com/how-to/use-brushes-and-masking-zbrush-3-1-184415/


ZBrush with Photoshop texture tutorial video with low poly YouTube.


ZBrush texture with Photoshop ehow.com 
Open Zbrush. Select “File” and click “Open.” Open the project you have been working on. Then select “File” and click “Export”. Name the file and choose "Wavefront OBJ" as the file type. Click “OK.” Close Zbrush. Open Photoshop. In the dialog box that pops up browse to the file you exported from Zbrush and open it. The 3D model will be imported with its existing textures stored in the “Layers” panel.Click on the texture group in the “Layers” panel to open it. Some models will have more than one texture. Select the one you want to work with.
http://www.ehow.com/how_5865471_make-textures-photoshop-zbrush.html


Pixar collaboration and Inspiration wiki.answers.com

 PIXAR uses their own software to create and animate 3D models. They use very powerful computers to create them and then "render" them (rendering is a process where a computer does millions of mathematical equations to simulate their model as best as possible). All movies are just still pictures moving in fast motions. These pictures are called frames. There are about a trillion frames in a 2 hour movie. It takes about 1-90 hours to just render one frame. Multiply that by....a lot...I could say. 
EDIT: "It takes about 1-90 hours to just render one frame. Multiply that by....a lot...I could say. "That is not accurate; It does not take that long to render 1 frame. Animation/visual effect studios use what's called a "Render Farm", which is a separate group of computers used only for rendering shots, which dramatically speeds up the process. When an animator finishes his shot, he sends it off to those computers to get rendered, and while that's happening, he can begin to work on the next shot. 

EDIT: 24 frames per second is the normal motion picture speed that we see with film. A 2 hour or 120 minute movie would only be about 173,000 frames, not a trillion
http://wiki.answers.com/Q/How_does_Pixar_and_Disney_do_their_animation


In Conclusion: 
I enjoy learning more and more about 3D. However, I have very little knowledge about this new venture, but very badly want to learn more. Art is a learning process, and you as an artist grow and develop artwork and change styles. Continuation of this process and combining the 2D and going as far as making the final project into a 3D model or 3D landscape is an extension to the art process. It also creates dimension and a new feel with sculpting. 

Tuesday, February 5, 2013

Knowledge and Inspiration

I don't necessarily have favorite artists in this field because the final product requires a lot of people's efforts and many artists' attention. I do have favorite comics because they use the same artists as you go through the series such as The Green Lantern: Blackest Night and Brightest Day. As well as Anita Blake: Vampire Hunter. Also The Invincible Ironman. I look at these various artists and writers for inspiration and there is a lot to learn from, just by opening up a comic book and reading it. The process is extensive, and I want to be skilled in the concept art of it and the sequence story art of it.


When interested in drawing comic art, usually people go for comics in panels. Now, the comic panels is considered to be a single frame in a multiple-panel sequence you find in stories in comic books or comic strips, or if the single panel contains the whole thing like in newspapers, then the panel is the story (or usually joke) itself, and is called a "single panel comic". When talking about panels in comic strips, these comic panels are distributed within the pages of the book, and will be the house for your drawing and storyline. People who are just beginning to make comic strips usually overlook the basic considerations that every comic book artist should be able to make. Fact is it's not all about the drawing. You should also consider comic paneling,comic  layout, and the storyline of course. The art of good comic paneling is one of the fundamental skills every comic book artist cannot live without.
First up, panel sizes depend on the importance of the scene you are trying to create. For example, the dramatic scene after a drastic action scene is given a big frame, while small scenes with a one-man thinking dialogue can get a smaller frame. Margins are also important when making comic panels, for one should be able to distinguish one frame from the other, and not look at it as one big frame, which would be confusing. Single lines are okay when you want to try to connect the two panels in some way, but you have to make sure that it is clear that those are two separate pieces. Usually, spaces are put in between panels to signify that they are different, but in sequence. Some people also are used to shading the next panel of the story so one can clearly distinguish that the panel is not one with the last, but is continuous.
Comic layout is just as important as the storyline. It assures the smooth transition of panels without mixing up the readers mind. There are a few guidelines to these as well to ensure that the reader will definitely be reading on until the last page.


Todd McFarlane: Spawn
The Justice League: Cry for Justice Mauro Cascioli and Scott Clark
The Invincible Iron Man: Extremis: Adi Grandov
When doing layout for comics, speech bubble placing is very important. First, you have to consider its size, and how much information or conversation you are willing to cram into that bubble. Big speech bubbles are unavoidable, but you have to make sure that they do not fill most of the panel wherein you are drawing, for even if the story line is important, you wouldn't want your comic to seem like a book. Don't make too large bubbles because it might get in the way of your drawing. A good idea would be to break up the bubbles into two separate panels, that way they wouldn't take too much space, and your characters (and readers) can breathe. People break up bubbles for a lot of reasons. Aside from breaking up really long conversation pieces, they also do it to signify a break, or a pause, in the character's "voice". For comics have no audio involved, the reader should feel that the characters can speak, and this involves them taking a breath. Therefore, people sometimes put bubbles in another part of the panel, to signify that the thought was said after the first. Be careful with this placing that it will not confuse the reader of the sequence of the conversation.


Green Lantern: Blackest Night
That brings us to another thing to address when it comes to comic book layout. I'm talking about the compositional flow and dialogue sequencing, which is placing the right bubbles at the right measure of space to indicate the flow of the conversation. Different kinds of comics require different sequencing, for example, I understand that anime comics are read differently from other kinds of comics, so it's a basic need to know what kind of comic you are making, and how readers actually read that comic. If you are an English reader, it is just natural to read from top left to bottom right, so it is essential to place the speech bubbles in a way that the reader gets the flow of the conversation easily, which would be top left to bottom right. Once they have established that, you should now be consistent all throughout the story, to avoid confusion and mix-ups. This is to ensure that the reader gets the gist of the comic even without dialogue, because the eyes are already drawn to the direction of the story flow. http://www.creativecomicart.com/comic-panels--layout.html


Green Lantern: The Blackest Night

 Gather other supplies. This includes a flat table, sketchbook and a comfortable space where you can work without distractions. Determine the kinds of characters that you want to draw and check out Sunday comics or search for comics online for pictorial references. You do not have to copy the images-you can just get ideas from other comics and apply them to your own. Start sketching out your ideas into comic panels to form a comic strip.


 Make sure that the images are proportion and consistent. If the way a character looks in your comic strip changes, you will have your readers confused. Be very careful on how the characters look to make them as consistent as possible. Experiment with the motion, gestures and movements of characters. Also experiment with the characters doing different things. Work out on their facial expressions to be able to show different emotions. 
 Create a good layout. Make sure that the flow of the story is not confusing for readers. A good layout makes the readers understand the flow of the story without getting confused somewhere in the comic strip. A comic strip involves sequential drawing that should be able to relay the correct sequence of actions and emotions through your layout. If you are creating a funny comic strip, consider your timing on how to properly throw in the punch lines


Choose the right kind of pencil. One of the most important things to consider when starting with comic pencil sketching is the shade of your pencil. It is the most important tool in comic penciling, so you should be able to choose the best one for you. The ideal pencils to use are those that have a grade of B, 2B and 4B for darker shades. For wood-cased artist's pencils, the hardest has a grade of 9H while the softest is 9B. Beginners are advised to choose between HB, 2B, 4B, 6B, 2H, or a combination of these shades.  Kinds of pencils include wood-cased artists' pencil, clutch pencils, mechanical pencils, progress pencils, carbon pencils, chalk pencils and pastel pencils.Comic sketchers use different kinds of pencils depending on what they are most comfortable with. Knowing what pencil to use is like knowing the right flavor that suits your taste.

 Pick the right type of paper. If you cannot seem to find the right shade for your comic pencil sketch, it must be the paper. Some types of paper are too thick or too hard that they do not allow you to apply the right amount of pressure for your drawings.
Some types of paper, on the other hand, are too thin. Start with the basic office paper and see if it works for you, or look for other kinds of paper that you may be more comfortable with. Visit an art store and choose the best sketch paper or Bristol pad for your outputs. Place a smooth cardboard or a couple of office paper sheets for a firmer and smoother surface.


Practice Makes Perfect.

 This may sound cliche acute, but practice indeed makes perfect. With a lot of practice, you will be able to hone your talent and create your own comic strips. If you are not yet confident about drawing cartoon characters, start by copying comic strips online or from Sunday comics. Once you get a feel of what you want to make, start making your own characters and practice drawing them.  It takes a great deal of talent to become a good comic artist. Drawing from your vision and creating unique and memorable characters takes a lot work and thinking. With practice, however, you will be able to create your own characters and apply them on paper.
If you are starting with a comic sketching career, take time to learn about the basics of architecture and anatomy. Be as creative as you can and do your best not to focus on one drawing style. Be flexible and try to create pieces that are very different from one another.
Show your versatility and learn how to create comic sketches for children and for adults. You should be able to know the difference between children's and adult's comics and how to apply them in your comic sketches. Ultimately, comic book sketching is not as easy as people think. It requires high volume of work, creativity, patience and talent.
If you are starting with a comic sketching career, take time to learn about the basics of architecture and anatomy. Be as creative as you can and do your best not to focus on one drawing style. Be flexible and try to create pieces that are very different from one another.
Show your versatility and learn how to create comic sketches for children and for adults. You should be able to know the difference between children's and adult's comics and how to apply them in your comic sketches. Ultimately, comic book sketching is not as easy as people think. It requires high volume of work, creativity, patience and talent. http://www.creativecomicart.com/pencil-sketch.html


Colorist

Job Description: Simply put, the colorists job is to apply color to a comic book. This is easier than it seems though. Typically, the job is broken up into two parts, flatting and coloring. In the flatting process, the basic areas of color are blocked out so the colorist knows what spaces to color what. In the coloring stage, the colorist applies not only the color, but adds lighting and shading to help give the three dimensional feel that comic books are known for. The colorist helps the comic book to become a finished piece of art, and is an artist in their own right, needing very different kinds of skills than the penciler and inker need.  Skills Needed:  Knowledge Of Color – The colorist needs to know how to use color. School training is helpful, but not necessary as many colorists learn as they go. You need to know what color looks like and how it changes under light and shadow.  Artistic Mindset – A colorist is an artist, no question about it. It requires patience, practice, and some level of artistic skill. Knowing the theory as well as how to use color to get what you want will only make you a better colorist. Speed – The colorist is one of the last in the assembly process. Because of this, if there is problems in earlier stages, the colorist may have less time to complete their work. They are often required to keep the comic on the deadline and will need to develop the speed and endurance to finish work quickly, but maintain quality. Technological Skills – Nowadays, comic books are having more and more of the process done on computers. Almost all coloring is done on computers using complicated software programs. This is going to require the colorist to be comfortable with computers and software programs. Not to mention that the colorist doesn’t actually physically touch the art, but does it all with a scanned piece of artwork. These kinds of skills with technology are becoming more and more necessary. Computer – Most coloring these days are done on a computer, and a Macintosh computer at that. That isn’t to say that a Windows machine can’t serve you for your coloring needs, but the industry standard is the Macintosh. Knowing how to use a Mac will only help you get further in your career

Software – Since most comic books are done digitally and you will need a computer, you will also need the software to do the actual work. The most common one used today isAdobe Photoshop and Adobe Illustrator. These programs are very powerful in what they can do with color and texture to the page. They are a must have, but are very expensive. Some free versions have come out recently, such as GIMP and Paint.net, but aren’t exactly the same thing

Wacom Tablet – Although this is probably a “must have” for most colorists nowadays, toget started you don’t have to have one. A Wacom tablet is a tool that allows you draw with a penlike stylus where the strokes are captured on the screen. This makes it very much like doing actual painting and drawing

Website – Having a way to sell yourself is key in the business of freelance work. A website will allow you to easily show potential clients your work. It will also enable you to network and keep in touch with others.


Sunday, January 13, 2013

Giving Up

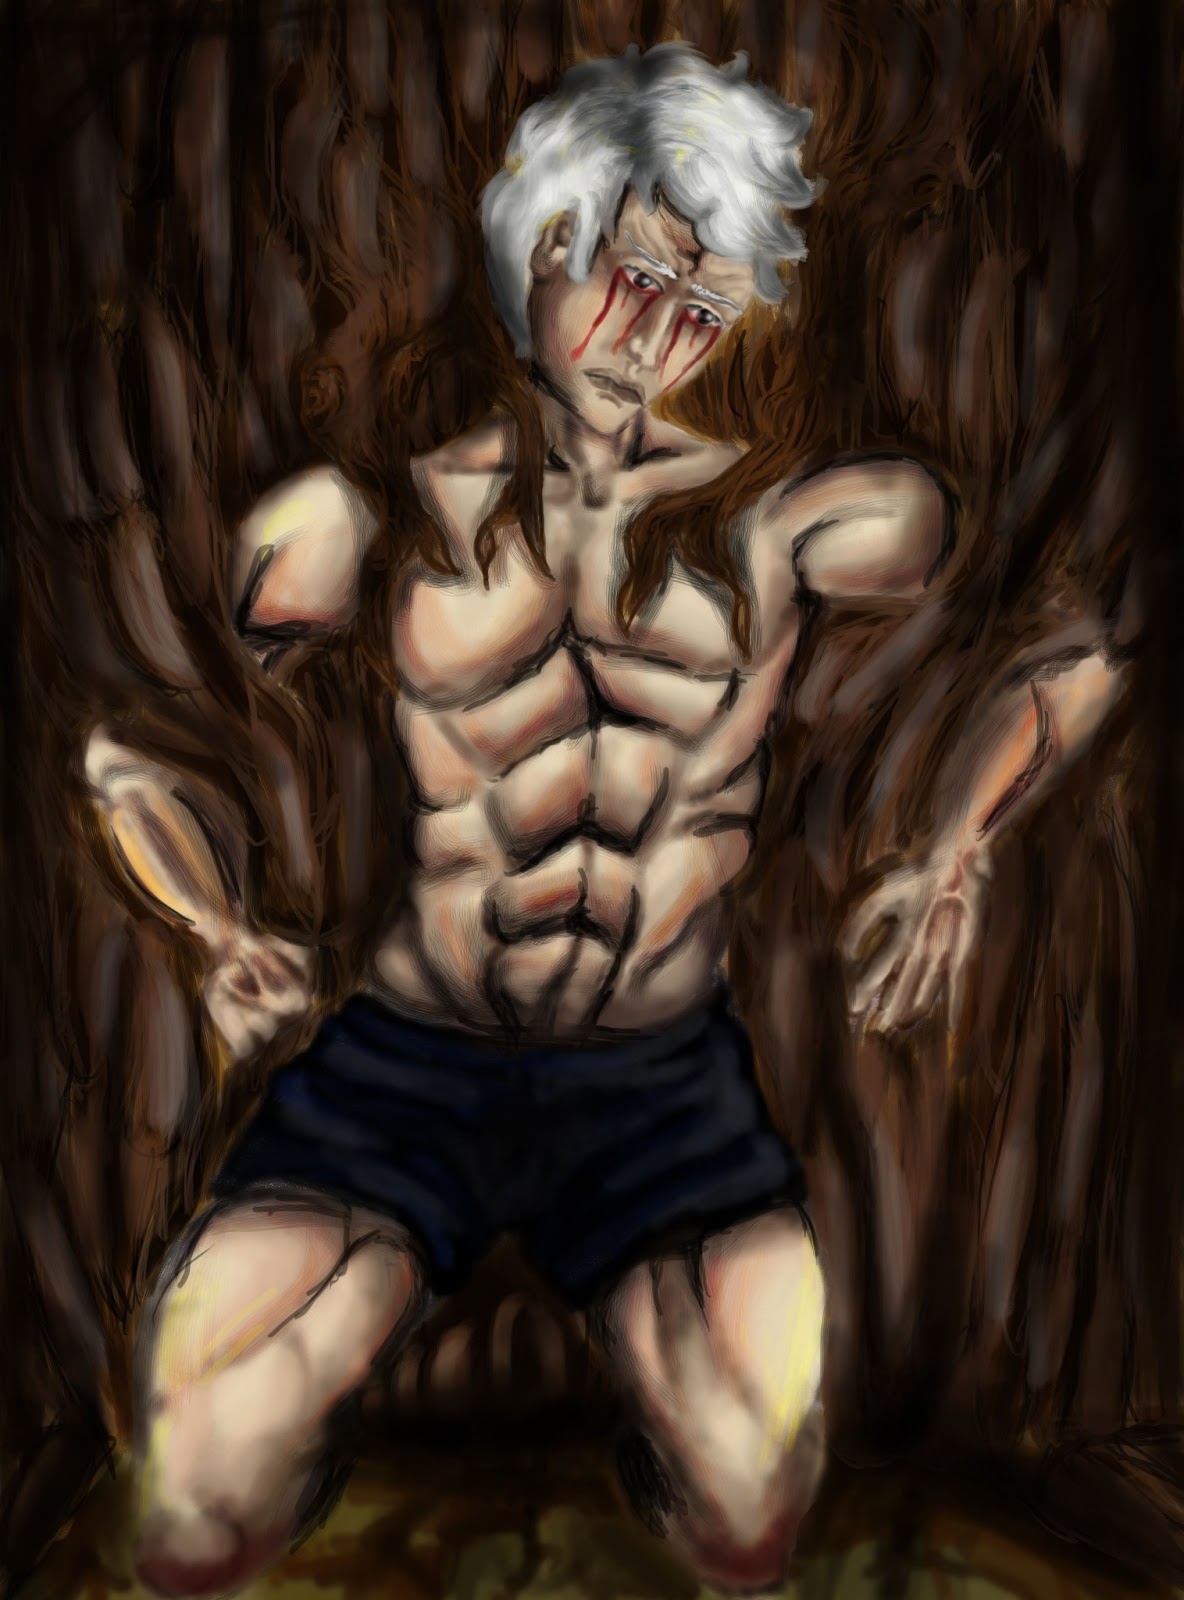
After failure of his mission to kill his opponent in battle, upon which he relies on his various powers such as the power of nature and life at his disposal. He retires from the tree he was inside.

Sketches                                                          Before Scanned drawing

After with Photoshop and Bamboo splash 5th attempt. 

With this; it is an improvement upon my work, however, I still need much more refinement...and more textures. I could have spent more time and consideration upon the execution of this work. But in making this work I feel that I've learned a lot with the decisions I've made in this drawing. 

Thursday, January 3, 2013

Original Characters

This work is based on a character in a book that I've written her name is April Kattina; an alien worrier that mimics the human form and adapts. With Bamboo Splash I've taken an old drawing from one or two years ago, and added a new spin upon it.
Scanned Drawing 

Photoshopped Results with Bamboo Splash 

However, with perspective and some anatomical errors and inconsistencies; it is good practice with Bamboo Splash and Photoshop and only want to get better with practice and learning. 

White Flower;  Niome looked stunning and made everyone else look ordinary or dim. She had jet black hair with a white sheen and streaks to it and she had big bright hazel eyes and her features were truly beautiful. 'Nia' Niome Lang;


Scanned Drawing

Photoshop Results with Bamboo Splash 


With this piece called; 'White Flower' illustrates another one of my characters from the very same book that I wrote and completed. Her name is Niome Lang. However, this character has recently been changed, her original name was Nia Mustang. I used hints of blue in her hair and hints of red in her eyes to illustrate the old character's features from previous drafts. Nia had bright blue hair and blood red eyes whereas Niome has black hair with white and hazel eyes. Using the new character as a base, I've hinted the old character Nia within the new character.  I used the white blossom for the background because her white light is accompanied by the blossoms.

Demon Cat; A character I created named Keita Lee; confident and caring, she leads you to light despite the darkness fallowing her. Another original character; Keita Lee; half demon half human. Much inspired this character such as Inu-Yasha with the demon dogs and Inu-Yasha being a half demon/half human. Also, Egyptian make-up and the golden streaks in her hair also attribute to the inspiration for this character.

Scanned Drawing


Photoshop results with Bamboo Splash

This character is inspired by one of my friends from a long time ago. I created her by referencing photos of my friend and inspiration elsewhere with her character. It doesn't look like her...but has the likeness my friend had. She carries a certain optimism my friend had. 

Saturday, December 29, 2012

Restarting

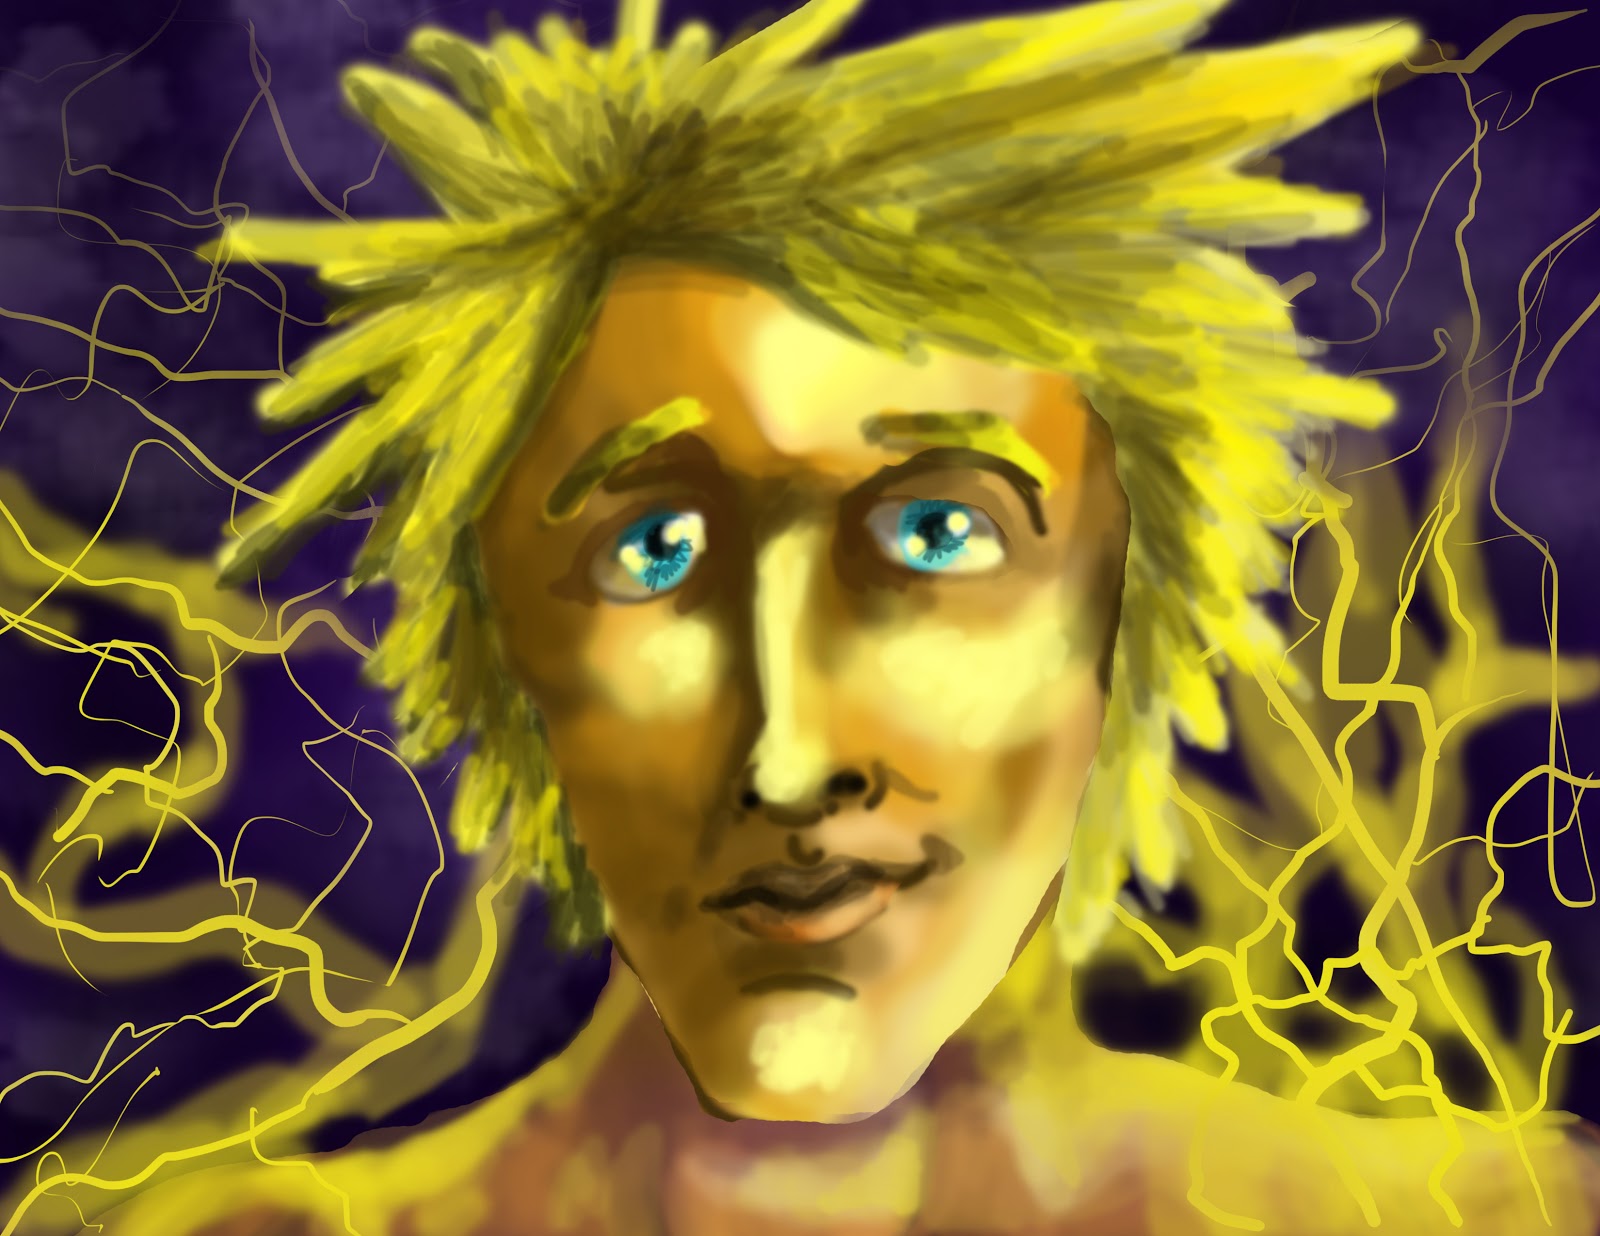
While using Bamboo Splash...I created this art piece based on one of my characters I created in my teen years. He has the power to control lightning as does everyone on his planet. Using this new product...I start completely over with my skillset as it seems. However, it's a lot faster to improve on. Much practice is needed. 
Much more refinement is needed however, a decent first start on this hopeful love of this new product and how it can make my art work better in the long run. 

Wednesday, November 21, 2012

Letters

Photoshop letters are quite easy to do depending on your creativity and imagination.

 J

 N

V

Sunday, August 12, 2012